After you have processed and entered all your payments for the day/period you need the batch them for reporting and receipting purposes. In Profiler this is called the Day End Processing (DEP) and there is 3 stages to this:
- Execute the Day End Processing
- Do the reports
- Do the receipts
Issue the Receipts
The receipts are generated as part of the Day End Processing system. The text/body of the receipt is set via Payment > Receipt Texts, and the preference of the user (paper/electronic/annual etc) is set via the Client > Mailing Lists section with the Receipt option.
To get to the Receipts Issue go to Payments > Receipt Issue
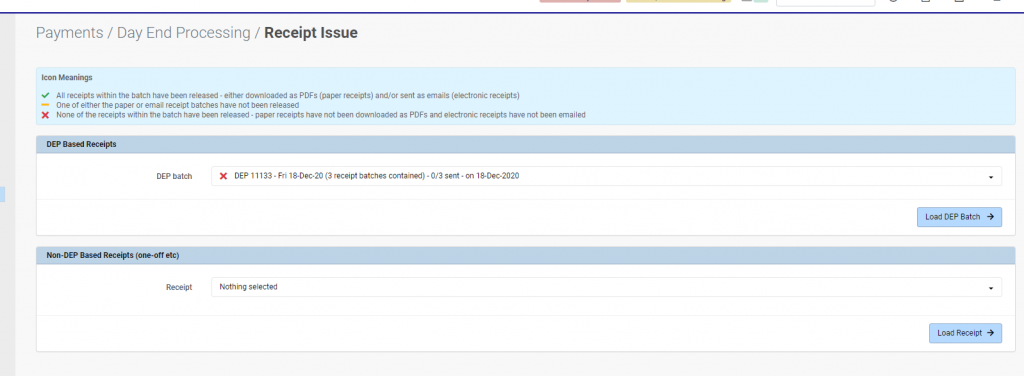
The top section (DEP Based Receipts) will show you receipts issued as part of the Day End Processing process. Should you make up seperate receipt batches (for whatever reason) they will be located in the Non-DEP based Receipts section.
Select the DEP Batch from the drop-down, and click Load DEP Batch
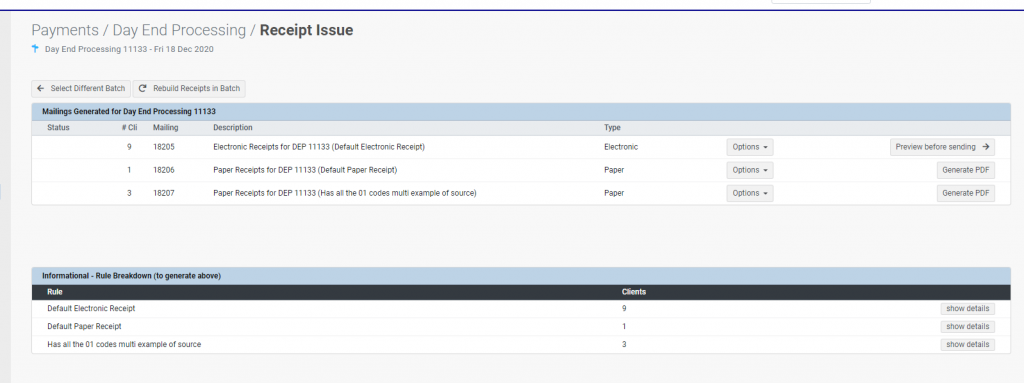
Depending on the people and information inside your DEP batch, it will generate a few lines. Each line contains multiple people (# Cli column).
If you wish to generate the PDF (for paper receipts) click on the Generate PDF option – this will then generate a joined PDF document of your receipts, ready for printing. This will download to your Downloads folder and you can print it like a normal document.
The bottom part of the screen just shows a summary of the clients and what rules are running to generate their receipts (ie. if there is clients who have no receipt or EOFY only)
The Electronic option has a Preview before Sending option, click on this, this will preview all the clients who are going to get the receipts, click on this (we recommened doing this AFTER you have done the Paper PDF ones, otherwise you will need to come back to this screen)
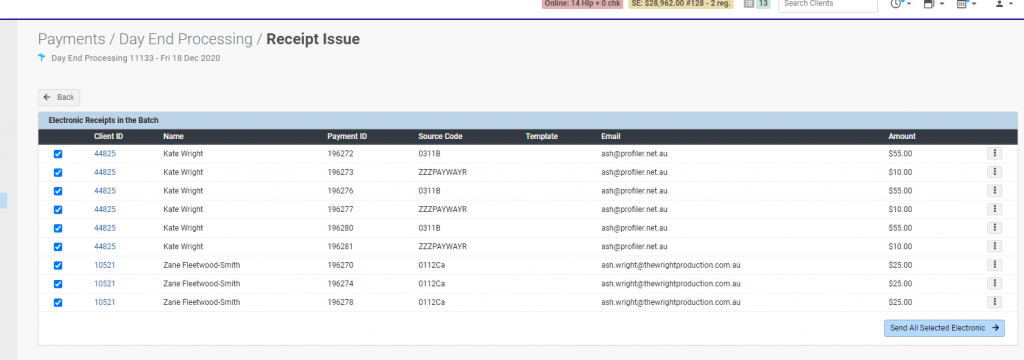
You will see a preview of all the clients and payments. You can click on the “…” menu for any payment and view the receipt as a preview
You can also un-select any clients in the tickbox that you DO NOT want to receive the receipt. When ready click Send All Selected Electronic
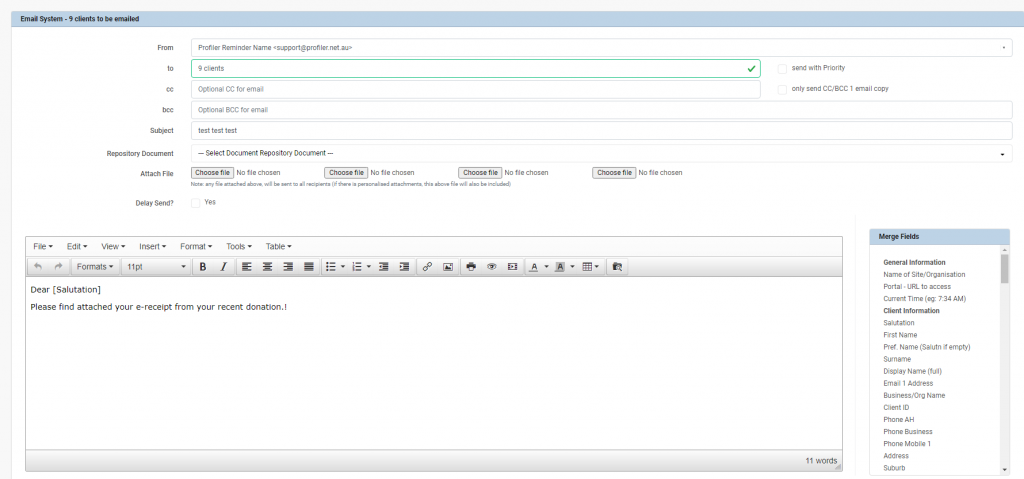
You will then be taken to the Profiler Email System and it will allow you to customise the email. Each client will get their own attachment. You can use the merge fields in the column on the right hand side. You can select the From Address and any Subject.
When ready click Preview Send List (which will show you a preview of who will be sent it) and then finally Send Email – this will send the email.