In a Special Event you can define which source codes are available on the SE > Real Time display (or when clicking on the tally display at the top of the screen)
To add source code(s) and Date Ranges to the Real Time screen go to SE > Real-Time Display and scroll to the bottom of the screen and choose Manage Composition
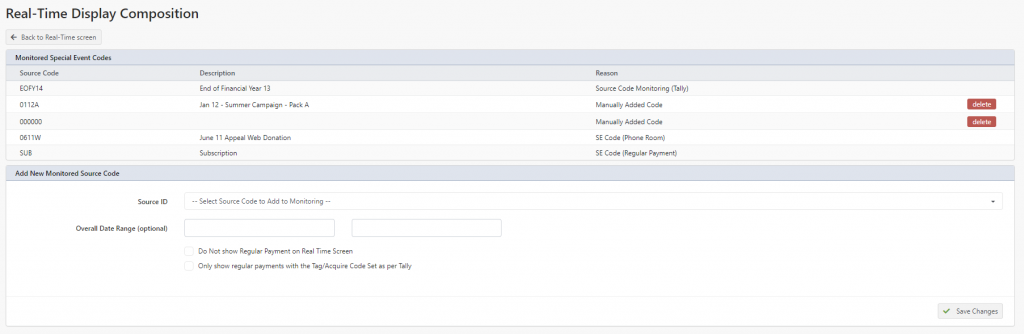
You will see the list of source codes that are being shown on this screen. Should you wish to remove any click Delete next to the Source Code you no longer want to have displayed.
In the bottom part of the screen in the Source ID, select the Source Code you wish to add to the Real-Time display and click Save Changes – this will immediately add the source code to the Real Time display.
There is some further options available
- Overall Date Range (optional) – this allows you to set the date range for all source codes on the Real-Time Display to only be shown when the payment date is between that date range. By Default it will take the date from the Special Event Setup, however you can adjust these dates, and click Save Changes
- Do Not show Regular Payment on Real Time Screen – when set (ticked) this will not display any regular/ongoing payments, only 1 time gifts/payments on your Real-Time display
- Only show regular payments with the Tag/Acquire Code Set as per Tally – when set (ticked) this will only show regular payments that have the Tag or Acquired Code as set out on the Special Event Setup, rather than all payments to that Source Code. Note: this only applies to regular/ongoing payments