If a payment is unknown detail, it can be assigned as an anonymous payment. Each site should have 1 anonymous payment client, and this client can be set up like a normal client with the name “Anonymous Payments” (or something similar).
You can also set this client under Client > Mailing Lists to get No Receipts (to stop receipts being generated).
Tell Profiler about the Anonymous ID
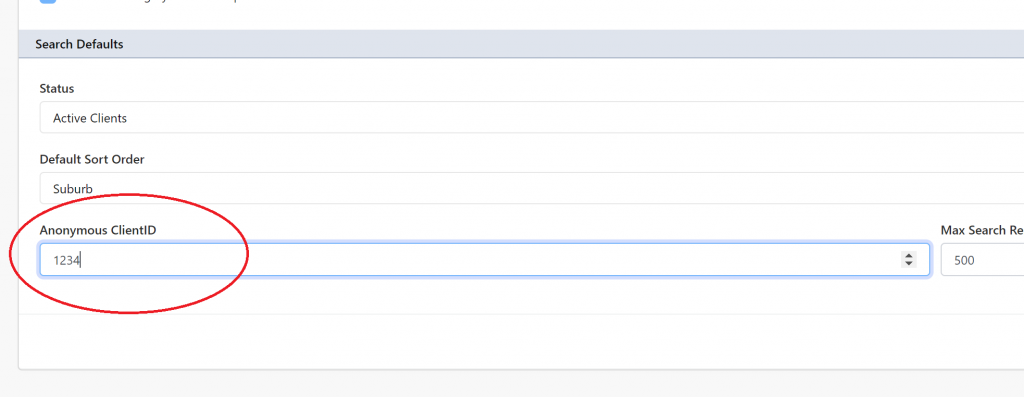
You can define and tell Profiler your anonymous client ID – this makes it easy for one-off-payments to be assigned to an anonymous ID. You can do this at Setup > Generic Setup > Search Screen Settings and in the field Anonymous Client ID – put in the Anonymous Client ID created above and click Save Changes
Create Payment with Anonymous Client ID
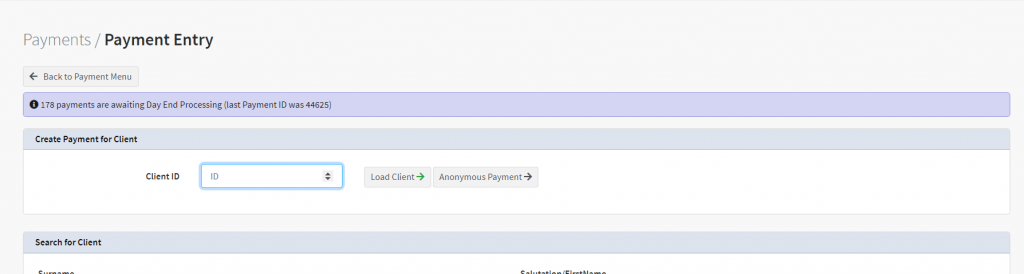
If the above ID is defined in Profiler, when loading Payments > Payment Entry you can see the Anonymous Payment button. Click this and it will automatically take you to the payment screen with the Anonymous client selected.
Web/RAPID Payments with Anonymous Clients
The web payment (depending on your form submission required fields) should have some limited information (at minimum an email address), so a client should be created (or matched to an existing) even with the little amount of information you have (as that data can grow over time)
Should you wish to assign a RAPID payment to the Anonymous Client ID, on RAPID > when helping the client (looking for matches)

At the base of the match screen, enter in the Anonymous Client ID that you have defined at your site, into the Manual Client ID Assign field and click Assign ID – this will associate the RAPID transaction with the anonymous client.