Some of your clients may choose to externally put a regular payment into your bank account (ie. Profiler is not responsible for initiating the payment of regular payment) and we call this a External Created regular payment.
Method of Externally Managed Payment
You have 2 methods of externally managed payments – the first (default) is on the due date the payment will automatically be created, and rolled over to the next due date. The 2nd option is to set the system to manually process them, which means you will go into a screen and see all the external payments, and set the date the payment was received.
To enable the second option – go to Setup > Regular Payments > Batch & General Setup – and enabling the option Disable Auto-Create of Regular External Payments (use the screen instead)
Setting up a Externally Managed Payment
On any client go to their regular payments and create or edit the regular payment. If the payment has been set up as automatic payment you will need to change this, so it is not an automatic payment any longer first.
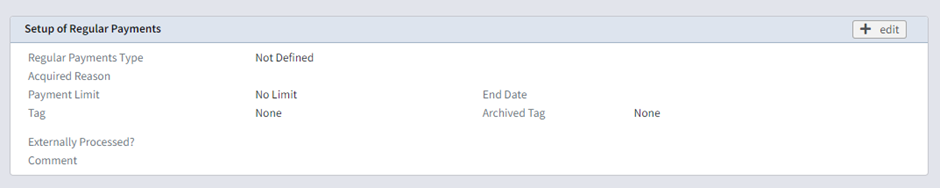
Go to the Setup of Regular Payments and click Edit
On the screen that pops up click Set as External Create
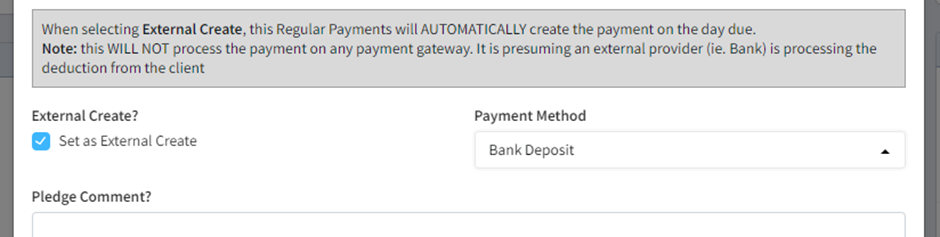
In the payment method – choose the method of payment that you expect this regular payment to received and click Save Changes this is now set as a regular payment that is due and is handled by an external system or person.
Paying a Externally Managed Payment
If you have the default option set in the first section – on the due date of the payment, it will be created as a payment. You will then need to verify that the payment has actually been received and if not, remove the payment OR alter it to adjust for the correct date or amount etc.
If you have set to manually approve the external payments – you will notice a screen in Regular Payments > External Creates

In the Due Date field select the Due Date for any regular external payments. This will get all regular payments that are defined as External Create due on or before the date you have selected. You also have an option to only include certain source codes. When you have made the choice click Next Screen

You will see a list of the external create payments to be made. By default all will be ticked for processing – if you untick any of them, they will not be processed, and will stay in their current state.
In the Paid Date field – adjust the date for the actual date that the payment was received (by default it will take to the regular payment due date)
When ready click Create Payments and all payments ticked will be created – with the payment methods selected, and then rolled over to the next due date.