If you wish to have a web-form on your WordPress website that asks people to sign up to a specific mailing list in Profiler, this KB article will show you how to have that happen.
In WordPress
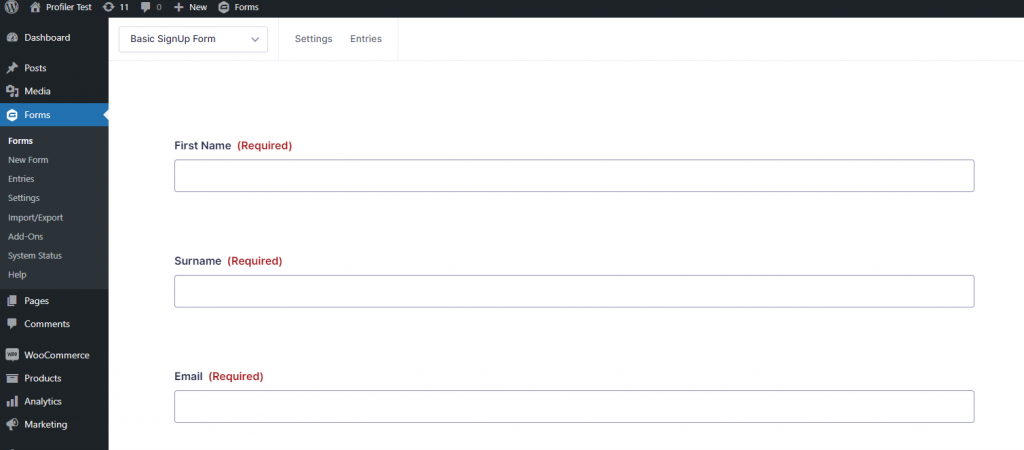
Create a form that has the basic details you wish the client to sign up to. This might be first name, surname, and Email Address. This is done using the Gravity Forms system.
Once you have made your form, go to Settings > Profiler Mailing Lists (Basic Email) and this is the section we need to link the form to Profiler API
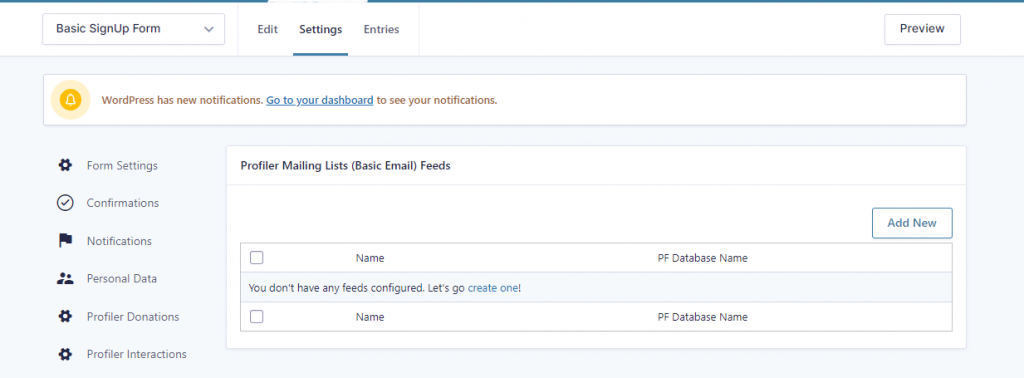
Click on the Add New button to create a new feed for this form to go to Profiler
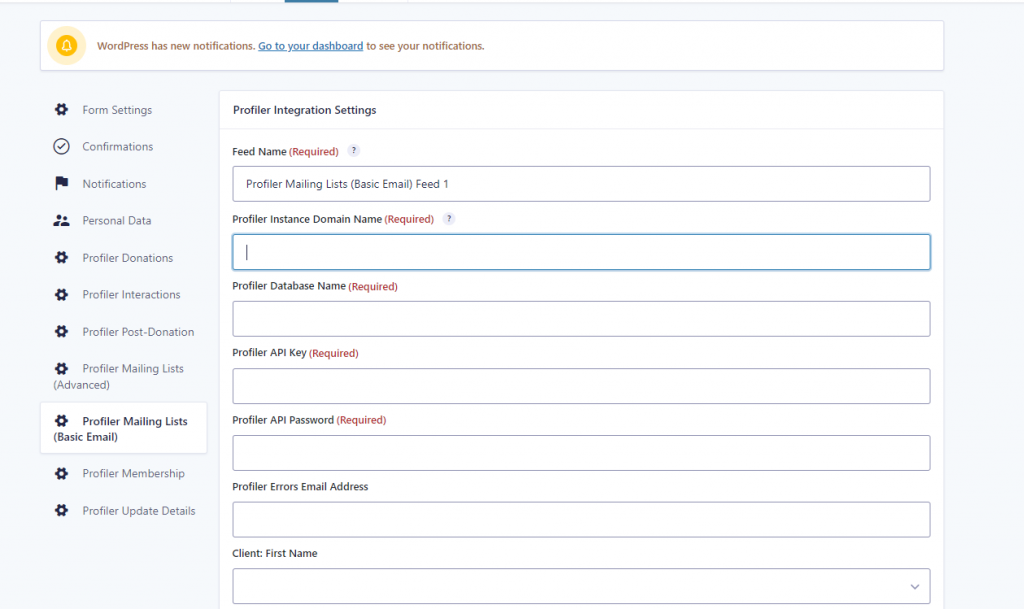
We need to fill out the following fields – most of which you can get from the Profiler API tab at the top of the screen in Profiler API module
- Instance Domain Name – the URL without the https:// etc that you use to access Profiler – ie. demo.profilersystem.com
- Database Name – this is found in the API system information in Profiler > API
- Profiler API Key and Password – as above
- Profiler Errors Email Address – put in an email address here if there is an error on submission this would get the details
The next section is all about mapping the fields from WordPress Form to Profiler

- Client First Name – select the field on your form that specifies the Client First Name
- Client Last Name – select the field on your form that specifies the Client Last Name
- Client Email – select the field on your form that specifies the Client Email Address
- Number of Mailing Lists – select the number of Mailing Lists you will be adding when this form is run. You will need to set this as 1 most likely.
- Client Acquisition Field (optional) – the field on your form that specifies how the client was acquired (this is often a hidden field)
- Mail List Acquisition Field (optional) – the field on your form that specifies how the client was acquired to the mailing list (this is often a hidden field)
- Profiler Logs – set this to the hidden Profiler Logs field on the form you created
- SSL Mode – this can be kept set as normal
When you have filled in these fields click Save Settings once saved scroll back down to the Number of Mailing Lists field and you will notice the Mailing List #1 Code
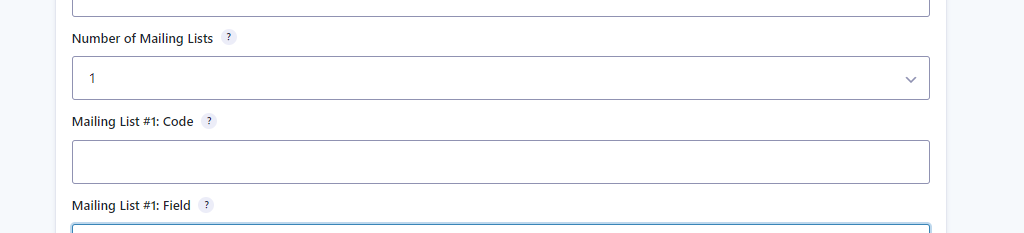
In this field, choose the Mailing List that you have created in Profiler under Setup > Mailings > Mailing Lists for the clients to be added to – you would put the value of Code into this field from that screen.
When finished click Save Changes , you are now ready to test your form.
Viewing Profiler Logs
Inside WordPress > Forms select the form you are using and click on Entries – you can add the “Profiler Logs” field if you do not have it showing. The Profiler Logs shows you the information that was received back from Profiler to give you any ideas on the success or failure of the transfer

In Profiler, you can go to API > Add Client to a Mailing List and on that screen you will see the input and output transactional chatter with Profiler and the WordPress endpoint.