This article will show you the basic way to send a email to a mailing list in Profiler.
From Reports > Email Campaigns
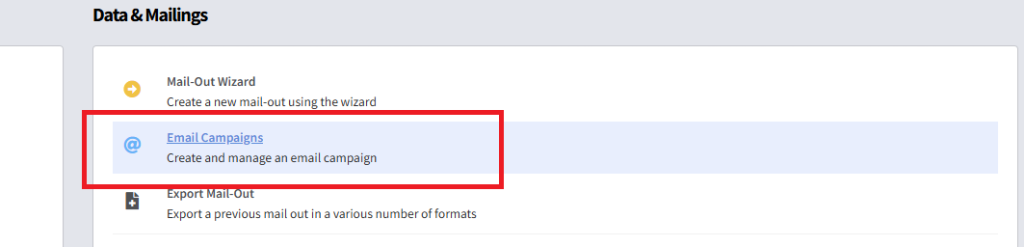
You can then select the “Create a New Email Campaign” – the other option is used to come back and see how a previous email you sent has gone (opens, clicks)
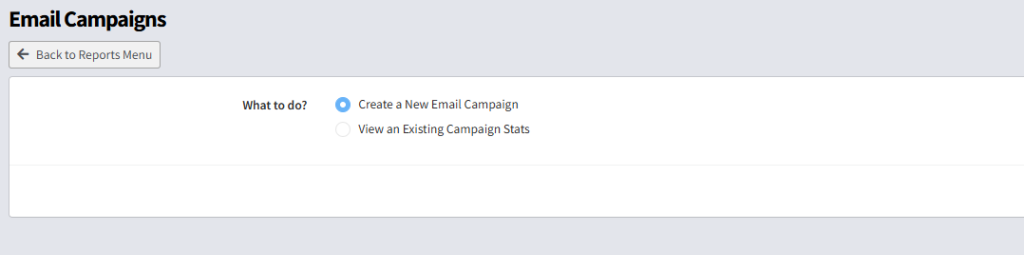
Select Create a New Email Campaign and click Continue

On the above screen you need to enter a few details
- Campaign Name – this is your description of what is being sent – this will appear on every clients mail sent tab (to know what they were sent)
- Who will receive the campaign – select the mailing list from this drop down. This allows you to select everyone on the mailing list, and importantly if they unsubscribe they will be removed from this mailing list
- What you will be sending them? If you have already got a template completed you can select it here, or click Compose using the Email Editor (this is the example this will be using)
Once you have entered these fields, click Send Email, if you have selected Compose using the Email Editor it will appear on the next screen (it won’t just send a blank email), however, if you have selected a template, it will send
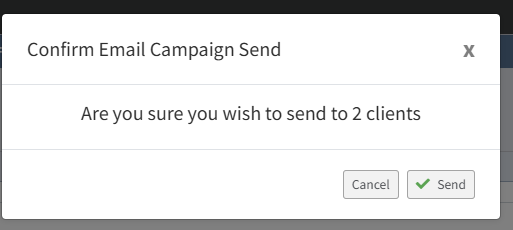
A confirmation will appear, once you are ready to send (or continue to select the template) click Send.
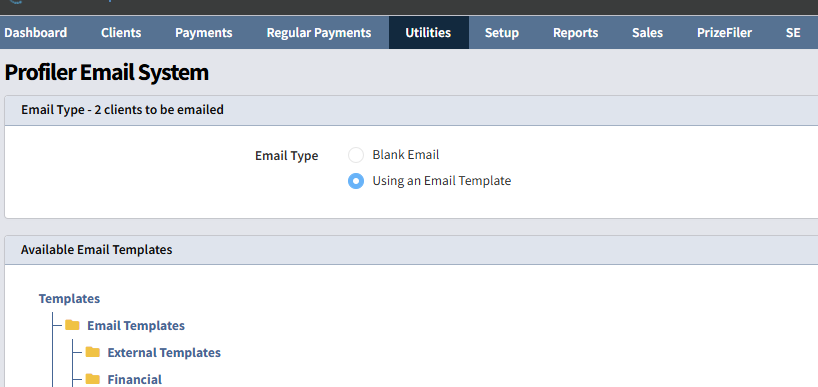
You will then be shown a list of your templates, or you can choose Blank Email – you can pick your template or select Blank Email and click Next
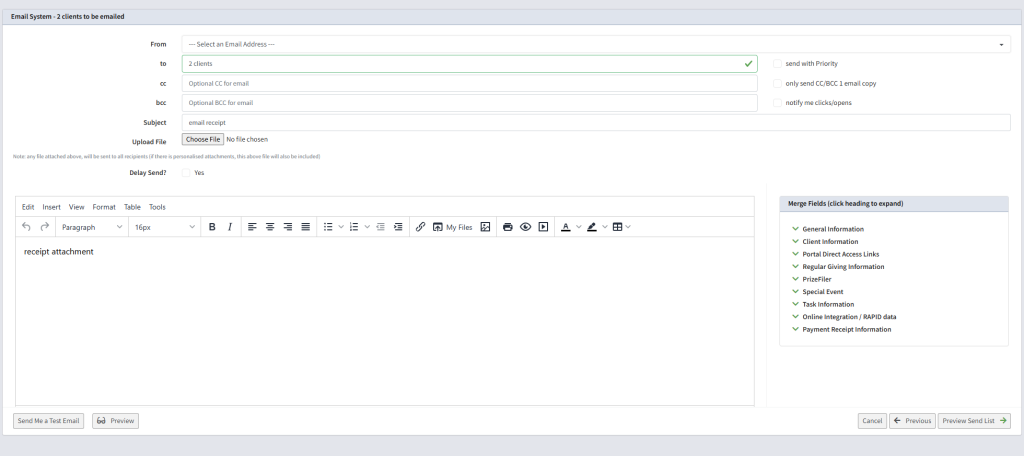
The normal email system will appear (with your template if selected), you can then set the From email address, Subject and add any attachments and the email body.
When you are ready click Preview Send List (which will show you all the clients about to receive your email) and then ultimately you can click send.
This will then send out the email (if you chose to send it immediately – which is the default) and will associate it with the mailing list.
On the client record, under Mail Sent

You will see a double entry like the above. As there is 2 aspects of the mailing. The first is being that they are part of the mailing list (in the above case General) and then second being the actual email that was sent out (which has the deliverability etc associated with it)
Should a client click on the email unsubscribe link – they will be unsubscribed from the mailing list you set up on the original setup.
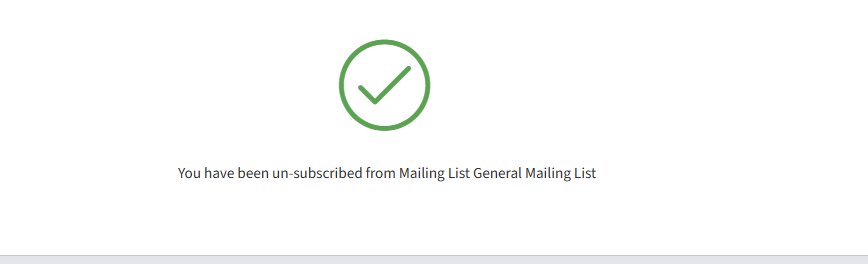
You will know the client has unsubscribed, by going to the Client > Mailing List tab

You will see that the mailing list is now set as Never Mail (so next time when you begin the process, they will not be included when selecting the mailing list). Should you wish to re-subscribe them, click on the “…” and edit the mailing list subscription and change it back from Never Mail