A common request is to import basic client details into Profiler from an external system or spreadsheet. We support on the Utilities > Import Module a number of basic formats with the most common of Email, Firstname, Surname, Phone Number
Preparing the Data
To get a data file ready for import, in Microsoft Excel (or your spreadsheet program) the data must be in those columns, in that order.
That is:
Column 1 = Email Address
Column 2 = First Name
Column 3 = Surname
Column 4 = Phone Number
The first row of the Excel sheet is the headers – so that can be the title of the column – ie. Email, First Name, Surname, Phone. This row will not be imported.
When using Microsoft Excel, you need to Save As the file as a type “CSV file”, before uploading to Profiler.
Importing into Profiler
Once you have the data file, go to Utilities > Database Management Tools > Import Module

You will see any previous imports you have done, and click Add New Data File
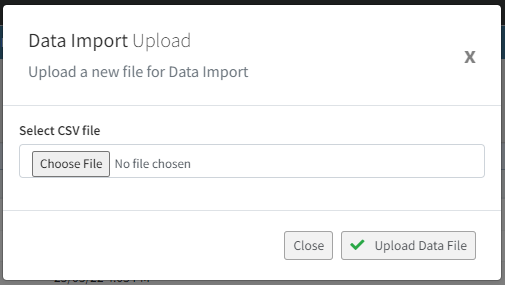
Choose the CSV file you made in the first step and click Upload Data File – this will send the file up to the Profiler server, and return you to the first screen, now showing this latest file at the top of the list. From the “…” menu for the file choose Process File

From the Format dropdown select Email, Firstname, Surname, Phone Number (CSV File) and click Preview Format – Profiler will then read the file and it will show you the data inside the file and the final column will give you the outcome – ie. existing client or new client to be created.

As the base of the screen – in the add role code – choose the role code you made. Each client (old and new created) will be assigned this role code. In the add acquired code select the added reason – which new clients will be set as the acquired code.
If you are happy with the data shown, click Import Data and Profiler will import the clients.