If you run regular payment types in Profiler, this could be for Subscription or Membership Types as well, this would be deemed a “Regular Payment Type”. This allows you to create a sub-category of your regular payments based upon a particular value (ie. Standard Membership, Concession Membership etc). These values are user defined and this article shows you how to create/edit/manage your Regular Payment types and then how to assign them to a payment
Managing Regular Payments Types
From Setup > Regular Payments > Types and this will show you a list of all the defined regular payment types

This will show you the code, description and how many regular payments are linked to this type. It will break that down into active regular payments and inactive ones.
You can edit or remove the existing regular payment types by clicking on the “…” for each regular type. To create a new one, click Add New Regular Payment Type.
When editing or creating you can select to have a linked mailing list subscription.
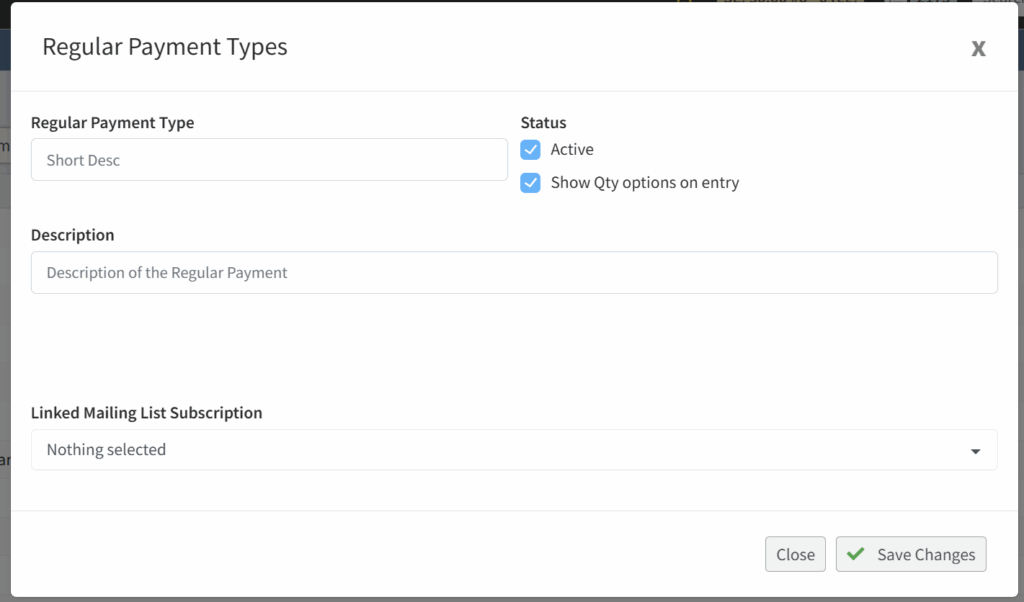
This mailing list subscription is optional, however, if set, when a client is added to this regular payment type, they will be added to the linked mailing list. When you have finished creating or updating the details, click Save Changes and then your changes will be saved
Assigning a Regular Payment type to a Regular Payment
To assign a regular payment type (as per above) to an existing regular payment, go to the Regular Payment on the client side tab.
Once you have found the client’s regular payment, you would go into the specific regular payment.
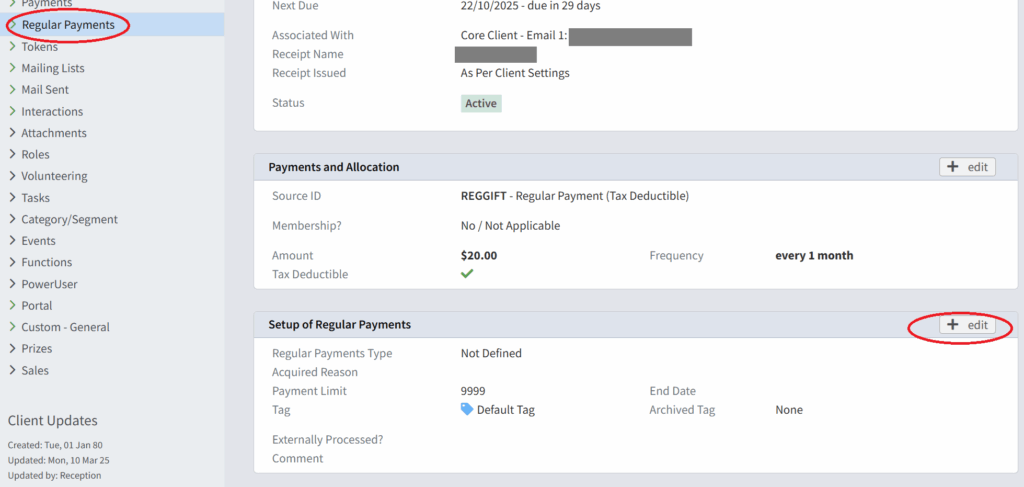
You would then click Edit on Setup of Regular Payments
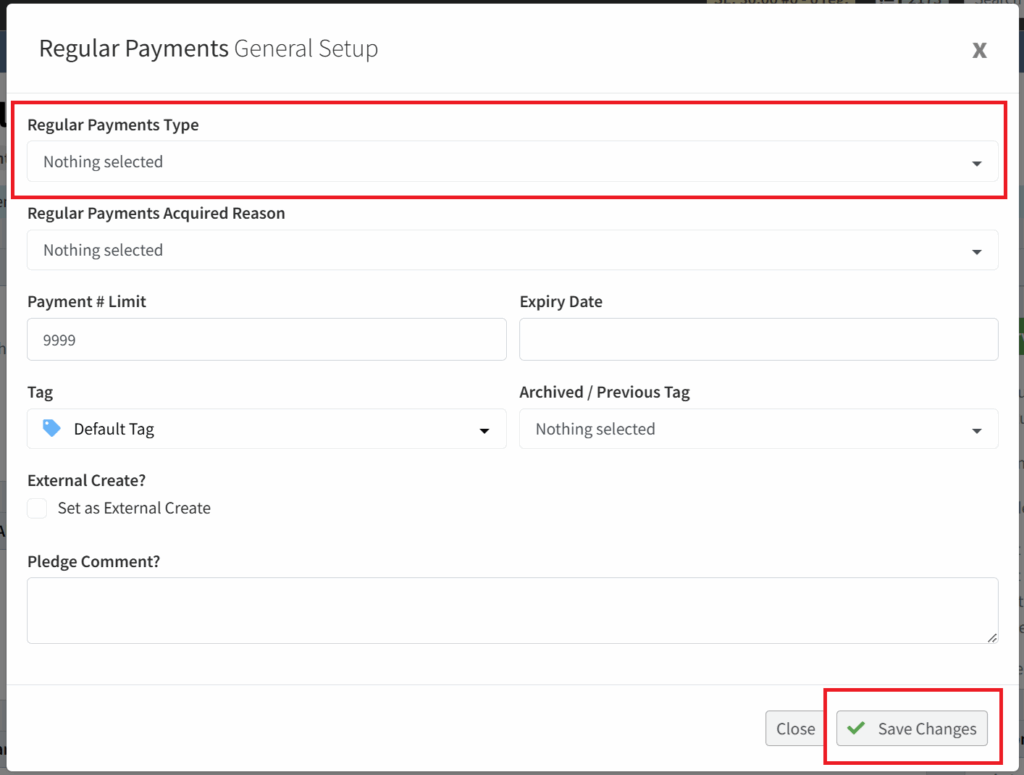
You can then select the regular payments type, and from the dropdown the list of types from the top section of this document will appear. Select the Regular Payment Type from the dropdown you wish to assign and click Save Changes
This will allocate this regular payment to that specific type.